Skip to main content
Home
Gallery
History
Press
Inquiries
Home
Gallery
History
Press
Inquiries
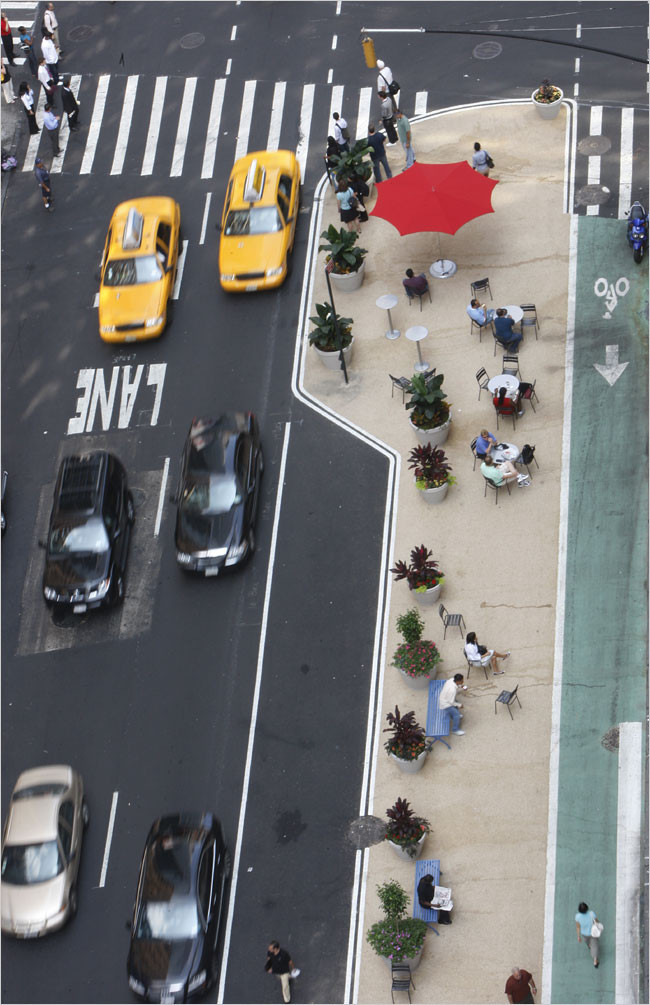
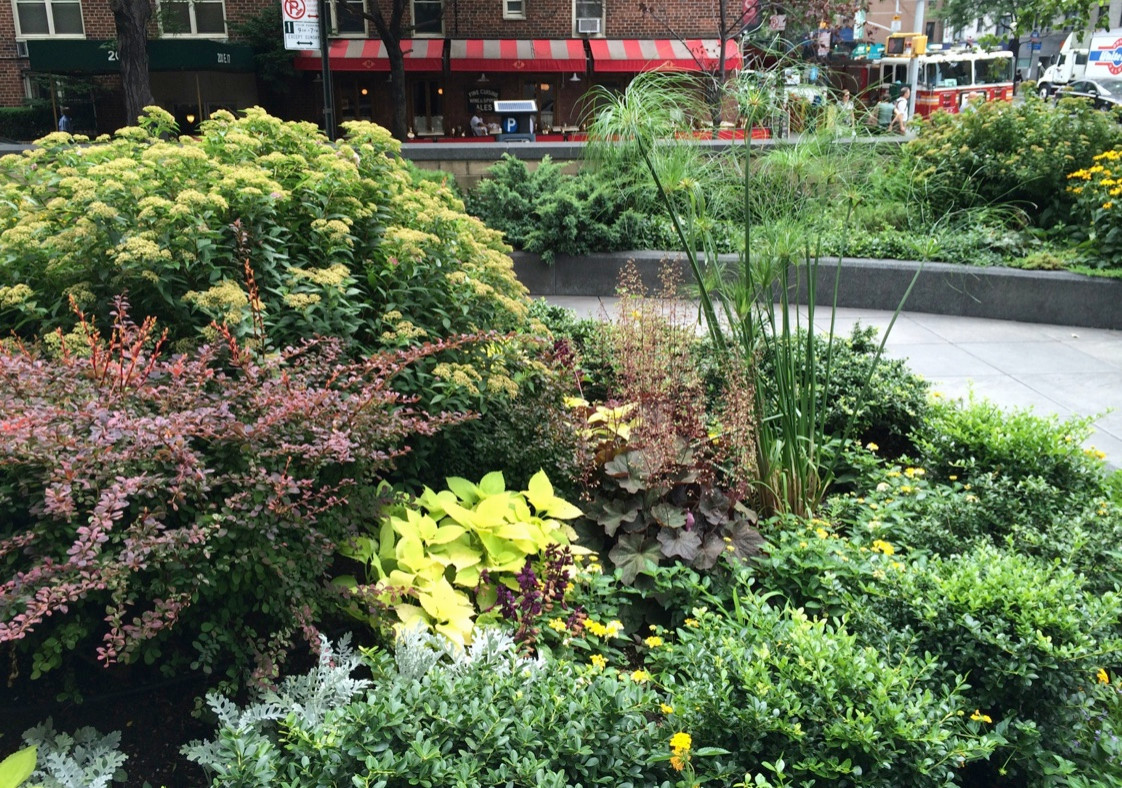
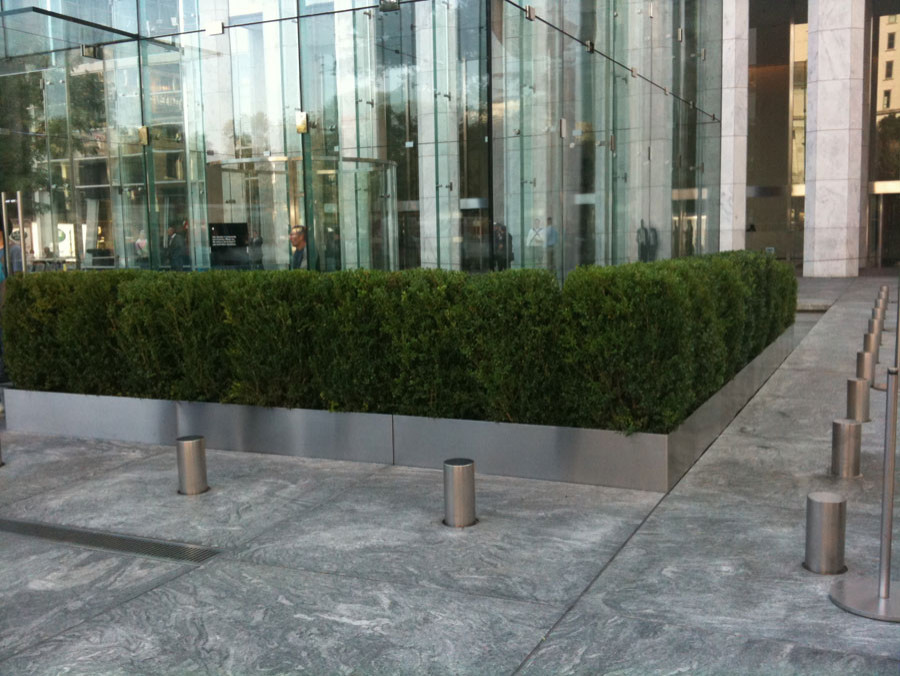
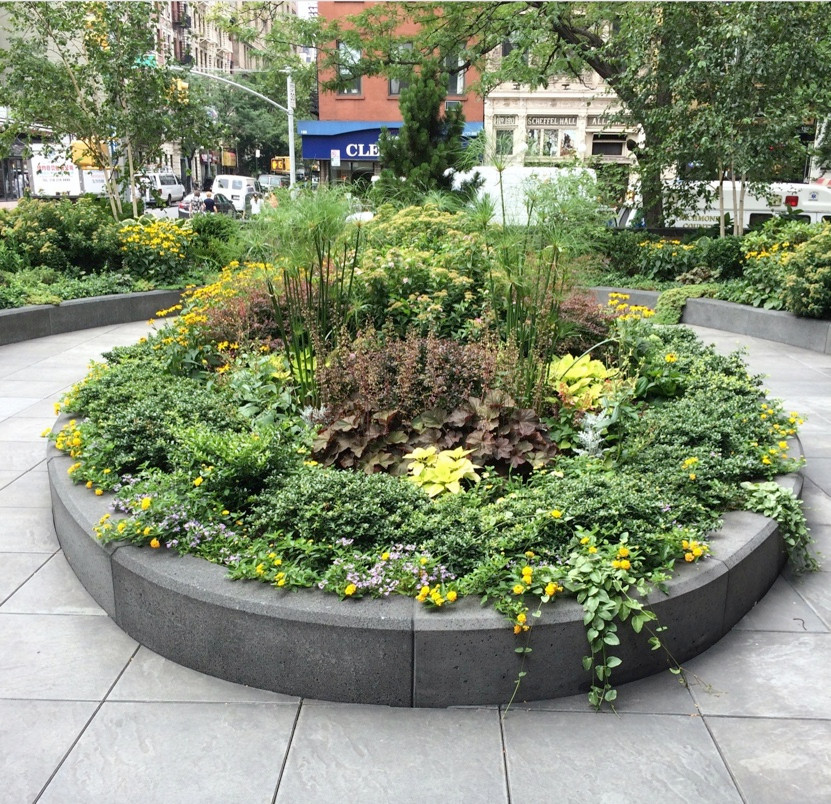
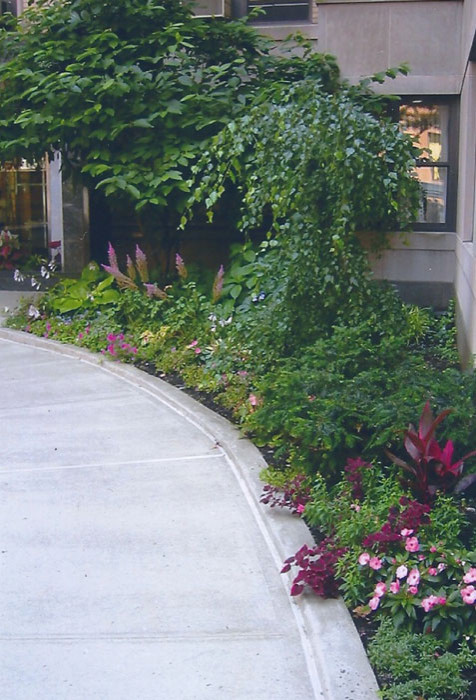
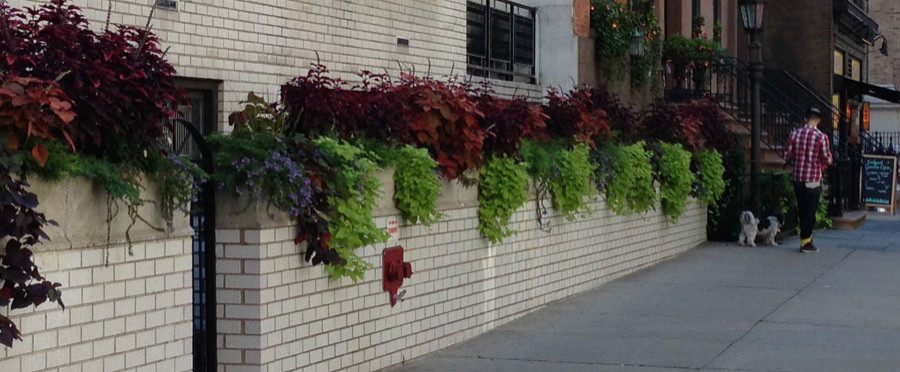
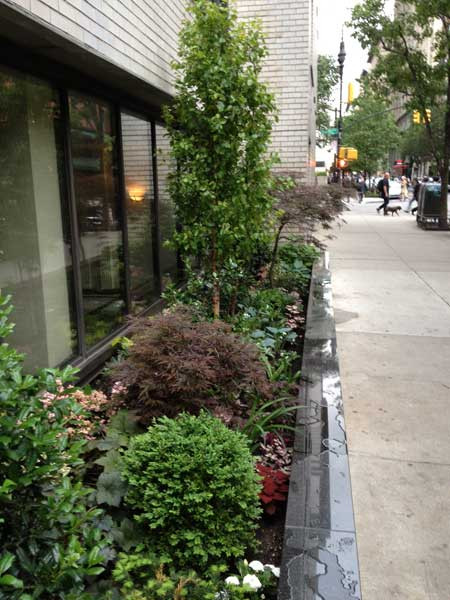
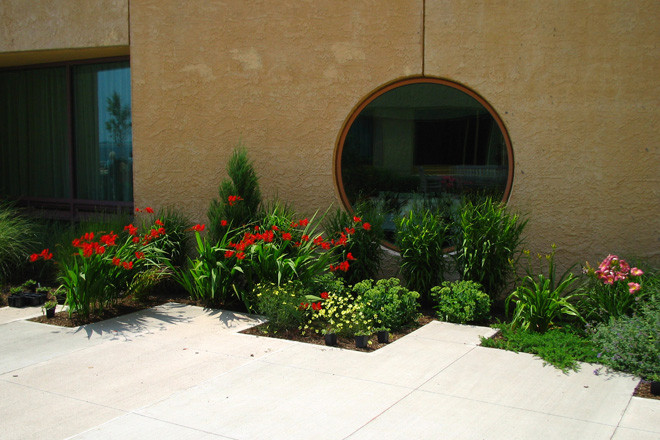
Gallery #3 Commercial
Return to Galleries